3 Easy Art Techniques to Try Your Next Time in At Kiln Creations

We love to see you in the studio, picking out your pieces, deciding what colors you want and stretching your artistic talent. Sometimes the stretch is just committing to coming in. You tell yourself in your everyday life that you aren’t an artist. You don’t have time regularly to make art, so when you do it feels like a slog. And we are so proud of you when you come in and try something new.
But some of you are seasoned artists. You’ve come to a few classes, spent a few rainy days with us, gifted a few things… And you’re ready to upgrade your art. You’re ready for a new challenge.
Here are 3 new things you can try in the studio to upgrade your art game that aren’t difficult, time consuming, or require extra brain power.

SILKSCREENS
A silkscreen is like an upgraded stencil. They are highly detailed, give a crisp finished look, and we seriously stock hundreds- maybe even thousands- of them.
To use them, we usually mix our glaze with silkscreen medium, but if we're working without it, we'll sometimes put a little glaze on an unglazed tile and let some of the moisture absorb out until it reaches the consistency we're looking for. You’re looking for a peanut butter consistency. Not so thick it’s dry, but not so thin it falls off your finger. That’s the sweet spot with silkscreen goo. Then, position the silkscreen where you want it on the pottery. For images, there may be a right or wrong way and there may not be, but for words, if you can’t read it it’s upside down or backwards. Hold your silkscreen in place on your pottery with two firm fingers on your non-dominant hand. Using your dominant hand’s pointer finger, spread the goo over the screen in one direction using a good amount of pressure- this isn’t sunscreen or foundation. Once you think you have covered the screen, lift a corner up to reveal the impression. If it isn’t perfect, no worries. Lay it back down and press the goo over the section again.
I absolutely love the crisp lines a silkscreen gives to your artwork. I also love playing with the images. We usually suggest doing them in black as that is the best outcome, but I have experimented with all colors, and you truly never know what will come of them until you try.
We have silkscreens of words and phrases, but also of highly stylized images, silly things that bring us joy, and topical themes. Ask to check them out the next time you’re in.
SPECIALTY GLAZES
Our regular glaze line is called Stroke and Coat. We carry 70 colors of the bright and true to color glaze line. They are all able to be mixed and come in speckled and regular formats. Using these 70 colors you can achieve a lot of looks. But sometimes, that just isn’t enough to capture your artistic vision.
Enter: Specialty Glazes.
We offer 3 different specialty glaze lines that work together to create all together different looks on your pottery pieces.

Colorobbia Fairy dusts are glitter glazes that transform your piece into a sparkling gem. They work with our regular and specialty glazes to add just a touch of whimsy to your piece. We have a full line of tinted glitters ranging along the rainbow and we also carry a dusty clear silver glitter for that all over glitter effect.

Mayco Elements are your more traditional-looking pottery glazes, and unlike Stroke & Coat, what you see in the bottle is not always what you're going to get out of the kiln. These reactive glazes change during firing, creating beautiful variations that can look antiqued, layered, translucent, or completely different depending on the glaze, how heavily it's applied, the texture of your pottery, and what you've paired it with. They're especially gorgeous on highly textured pieces like Christmas trees, pumpkins, and gnomes because they settle and break across all those little details.
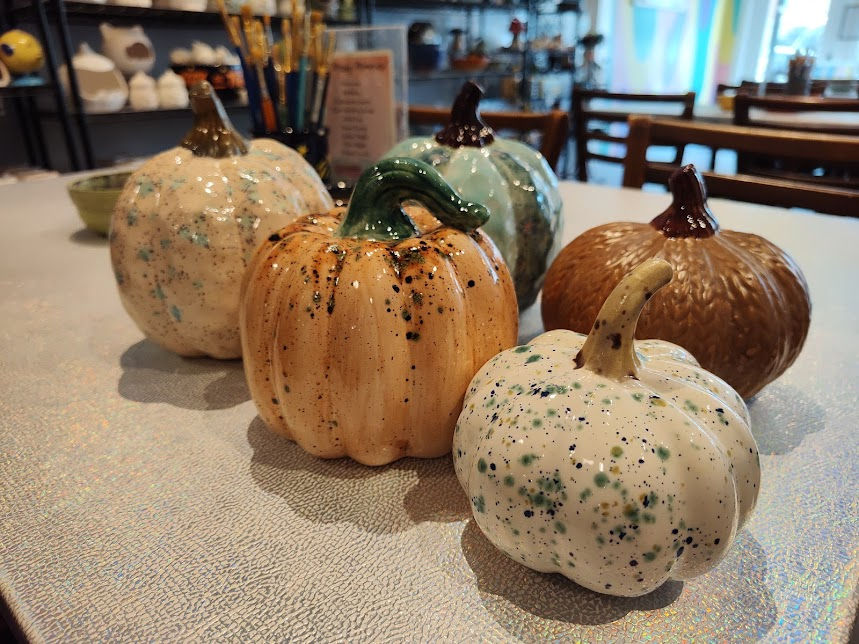
Mayco Jungle Gems are bespeckled glazes who love to move. The specks in these glazes are often glass or other glazes that burst into colorful gems in the kiln to create dazzling effects and create movement on your piece. Often, they layer very well with Elements and create new colors and tones.
Ask any employee and I promise they have a favorite combination of these fun glaze lines, and we’ll probably get way too excited telling you about it. All of the specialties work together on your piece to create something truly unique. And there’s no upcharge to try them out.
WATER
This is going to sound crazy but hear me out. Y’all do not respect the power of water enough.
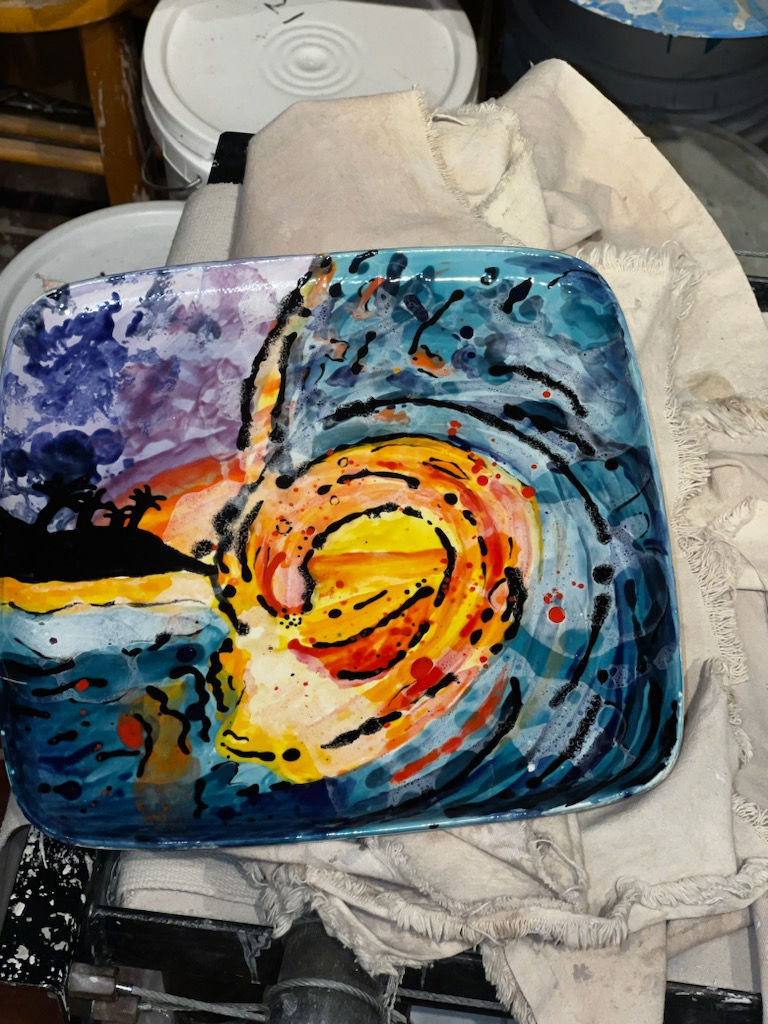
I love using water in my glazes and as a part of my artwork. Create a wash for an antiqued or defined look. Having a watercolor effect instead of an opaque block of color. Mixing colors. Adding dimension. Coating the inside of a tricky piece. Getting the perfect consistency for lettering and detailing. There are so many times during our classes when you'll hear us encouraging you to water down your glaze, and if you've always been a three-coats-straight-from-the-bottle kind of painter, try it next time you're in. It's a completely free—and honestly kind of FREEING—way to upgrade what you're already doing.
The best part about all three of these techniques is that none of them require you to suddenly become a professional artist, buy a bunch of supplies, or even really know what you're doing before you start. They're just little tools you can add to what you already know, and sometimes one tiny change is enough to take a piece from "I like it" to "WAIT, I made that?!" So, the next time you're standing at the glaze bar staring at your piece and feeling like you want to try something different, ask us. We will happily pull out the silkscreens, show you our favorite specialty glaze combination, hand you some water, and see where this goes.
These memories won't make themselves. 💜


Comments